What “without losing quality” can mean
If you need a precise start or end frame, use the trim editor and an encoded output. Free Video Cutter Joiner 8.1.0 does not offer a separate stream-copy trimming switch. You can keep the source dimensions and choose good output quality, but that is different from preserving the compressed stream without any change.
In version 8.1.0, precise cutting uses the current encoded-output workflow. There is no separate Smart Cut trimming switch. Compatible lossless joining is a different operation, with strict restrictions; its availability does not mean every trim is lossless.
Trim the beginning and end
Start with the original recording rather than an already compressed export. Choose a destination that makes the new file easy to identify.
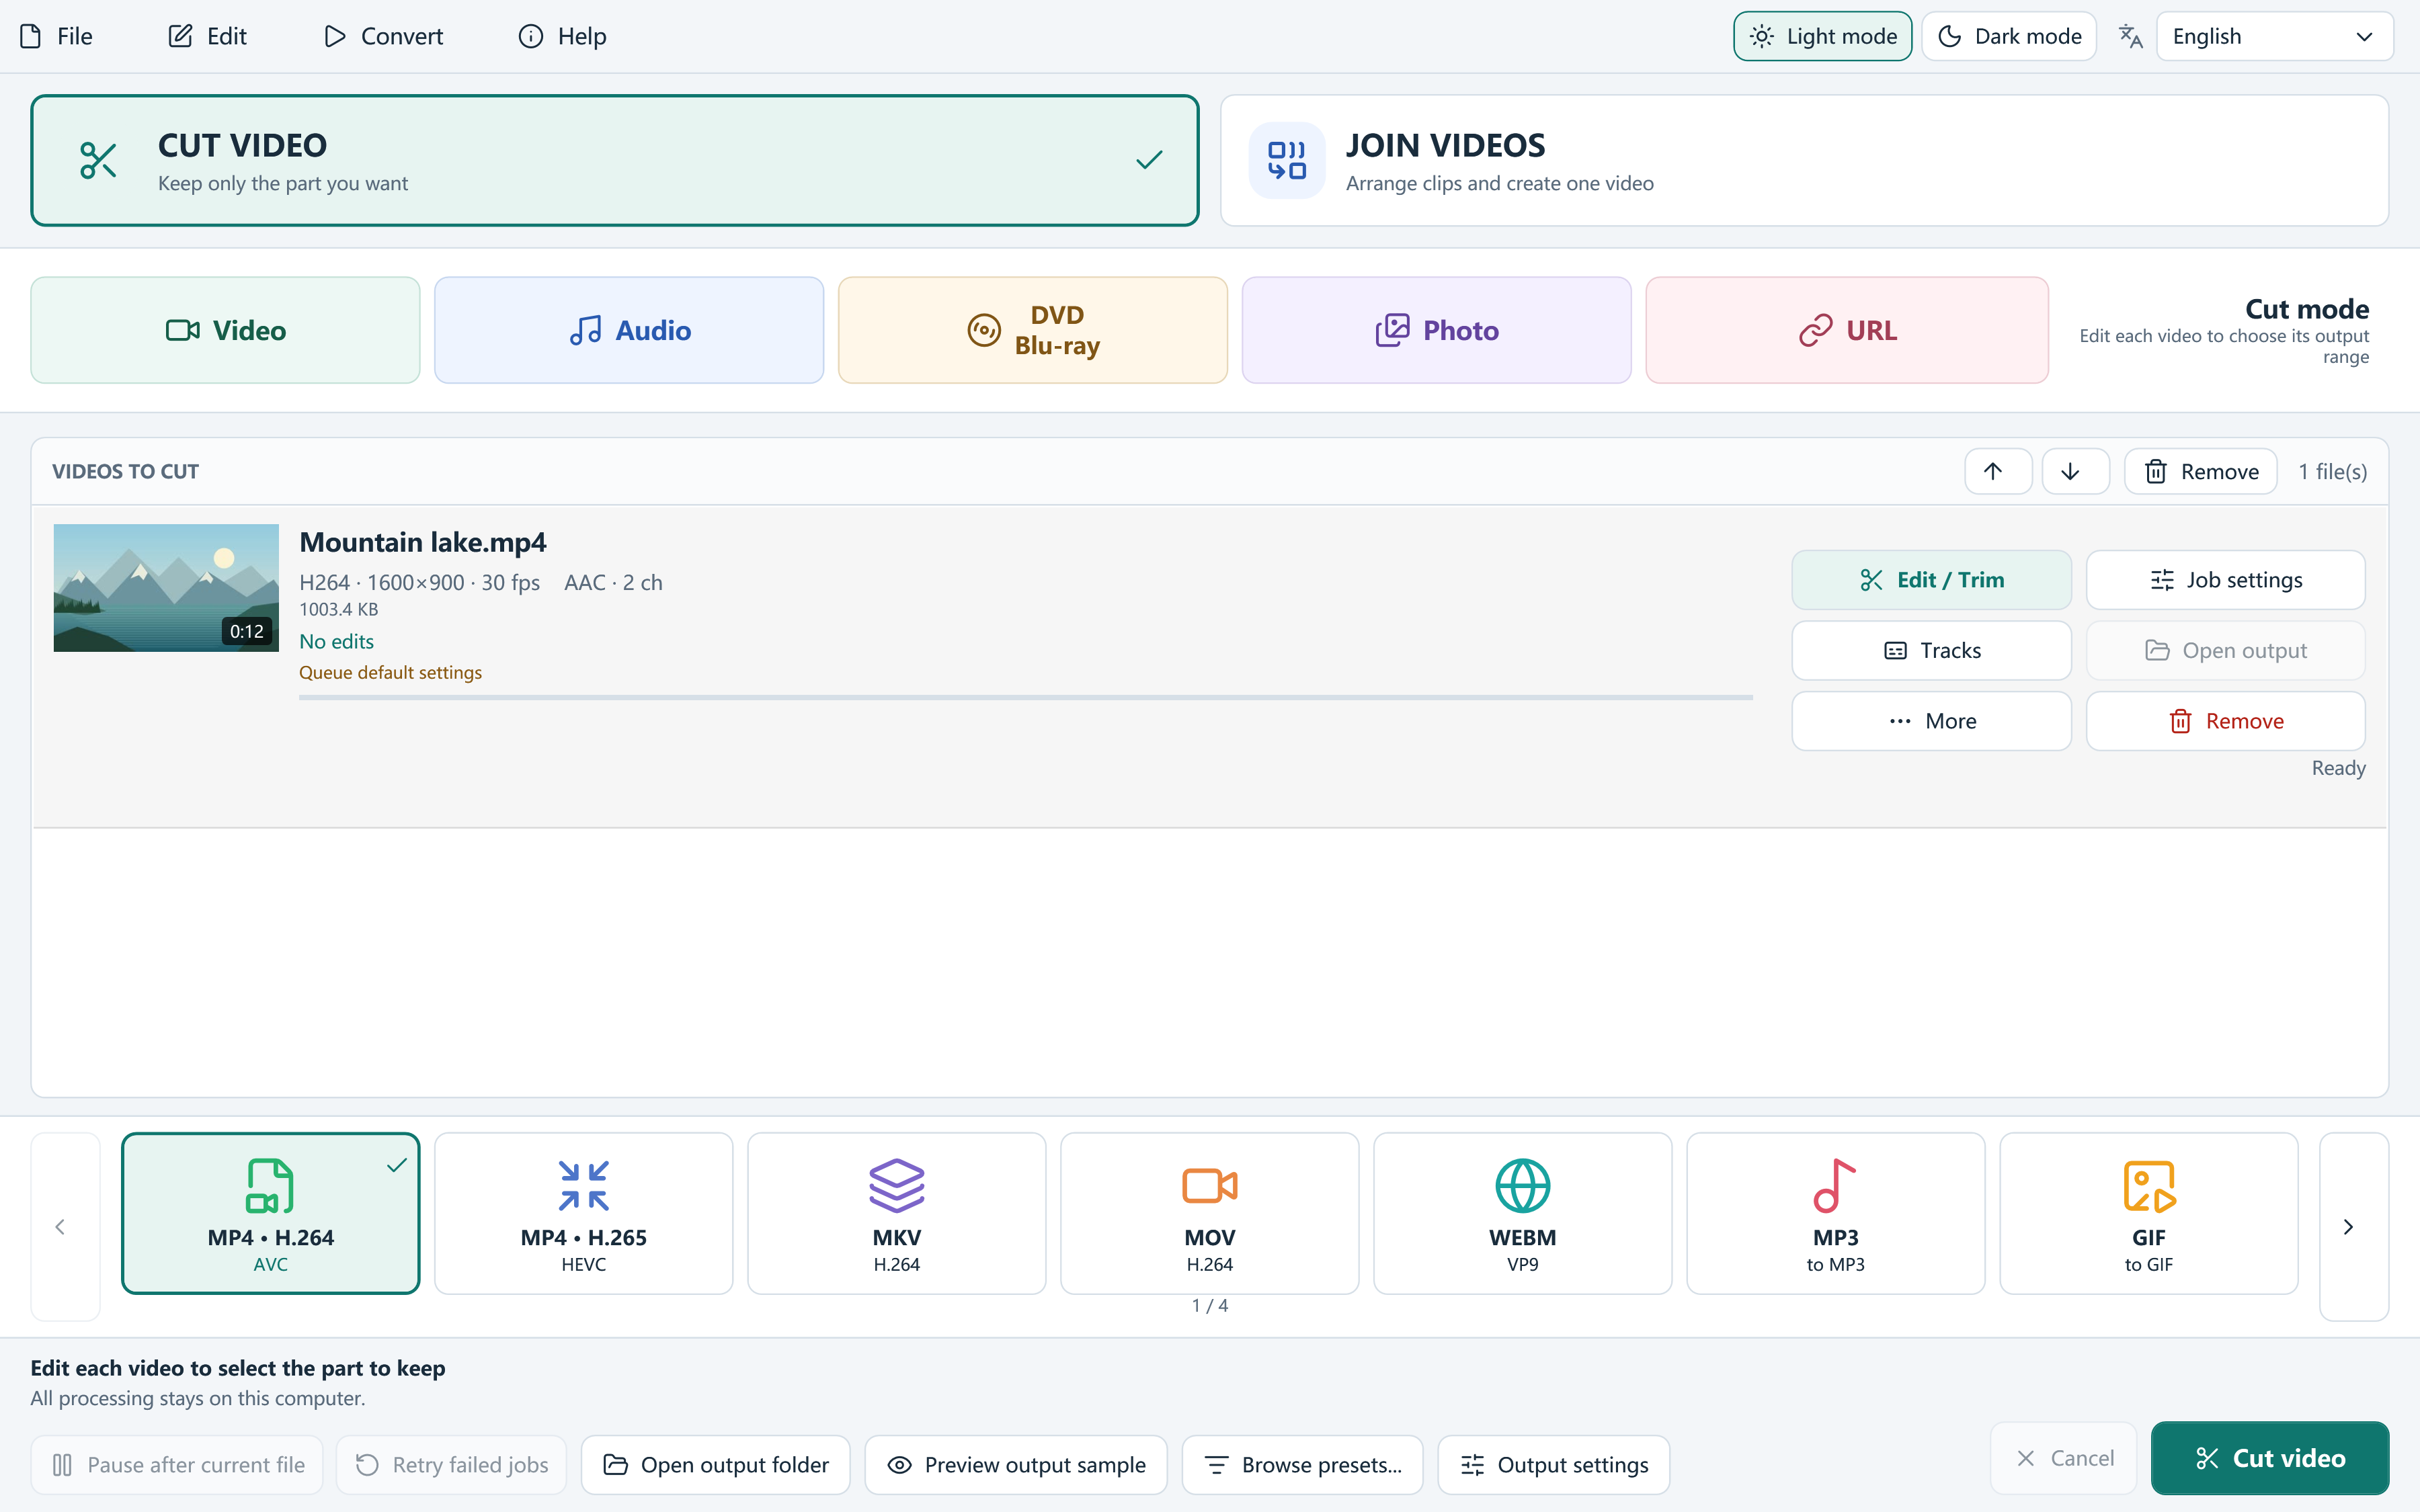
- Select Cut video and add the local recording.
- In Edit / Trim, place the playhead at the first moment to retain and set the start. Step by frame if the boundary is visually important.
- Place the playhead at the end of the useful section and set the end. Play both boundaries to check picture and sound.
- Apply the cut, select an output preset in the main window, and review its quality, dimensions and frame rate.
- Start processing and review the exported video, including the opening and ending.
Avoid changes that do not help the result
Retain the original dimensions unless you need a particular display size. Enlarging a small recording cannot recover details that were never captured. Keep the source frame rate unless the delivery specification calls for another one; converting to a higher number does not create a more detailed original recording.
Use an output codec suited to the audience. MP4 with H.264 is a useful starting point for general playback. H.265 or AV1 may suit other goals, but playback support and encoding time depend on the receiving system and your chosen settings.
Check audio and several kept sections
A clean visual cut can interrupt a word, a breath, or background music. Listen through the trim points with sound enabled. If the recording has multiple audio languages or subtitle streams, review the selected tracks as well as the picture.
To create several useful excerpts, add more than one keep segment. Cut mode exports these as separate files. To make one continuous video from those excerpts, add the exported clips to Join mode; its interface requires at least two queued video items. Check the order and listen across the final boundaries.
Keep the source and review a new output
Local video processing stays on your Windows PC. The application does not add a compulsory brand watermark; a watermark is only an edit you deliberately choose. Save a project when you want to return to the trim choices without rebuilding them.
Review the finished file in the player or device that will actually be used. Confirm the duration, aspect ratio, first and last moments, audio language and subtitles before archiving or deleting any source file.
Questions, answered
Will the program add a watermark to my trimmed video?
No mandatory product watermark is added. You can deliberately add your own watermark as an edit.
Does selecting the same resolution guarantee no quality loss?
No. Resolution is only one setting. Encoding method, codec, quality or bitrate, and the source itself also affect the result.
