AVI describes the container, not one kind of video
AVI files come from many cameras, capture devices and older editing tools. Their video codecs, frame rates and audio formats can differ even when their names end in the same extension. Some also rely on playback support that is no longer common on a modern computer.
Before building a long join, play a representative part of each source and inspect the media details in the queue. A damaged recording, missing audio stream or unusual source should be understood before it is mixed into a larger project.
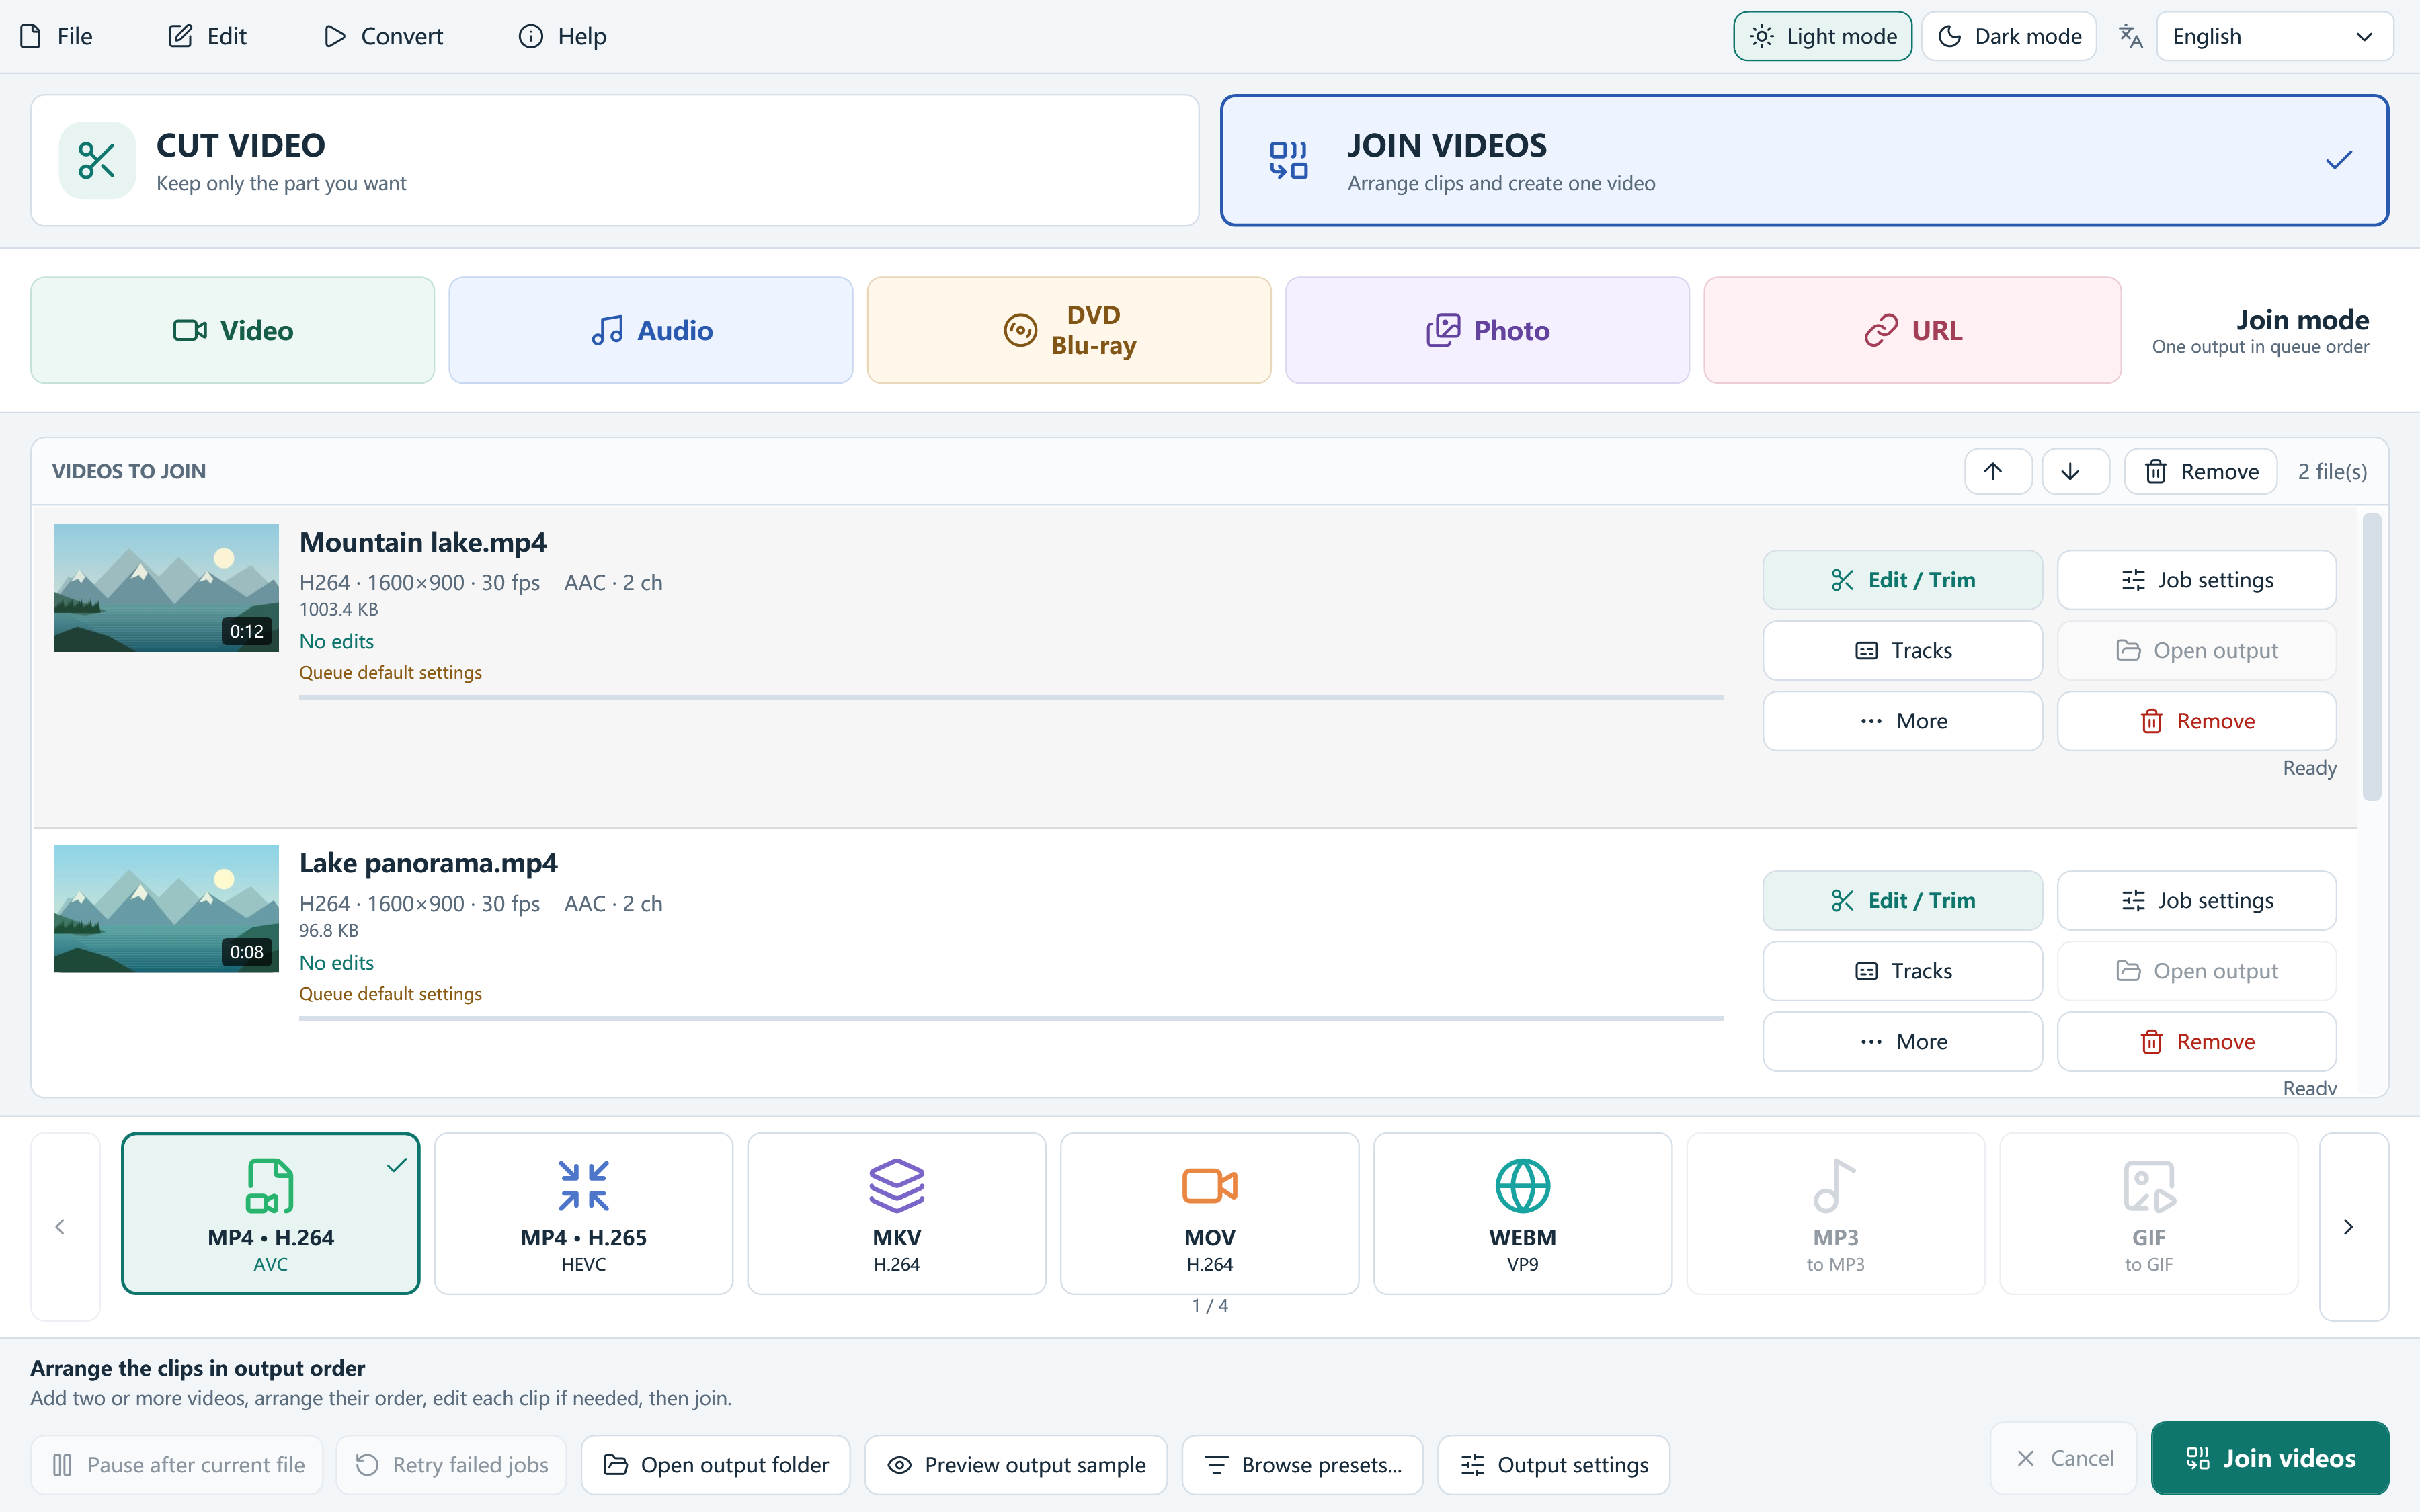
Choose a practical destination format
You do not have to keep AVI as the output just because the sources use it. MP4 with H.264 is often a useful destination for everyday playback. Keep AVI when another application or a particular workflow actually needs that container, and check that its selected codecs fit that requirement.
Do not enlarge a small archive recording simply to fill a larger output size. Choose dimensions and frame rate deliberately, especially when the inputs come from different devices. Review the preview and watch for stretched subjects or incorrect proportions.
Join the AVI clips in order
The source queue is the sequence for the final video. Give the files useful names or confirm their thumbnails so that similarly named camera clips are not accidentally reversed.
- Choose Join videos and add the AVI files. You need at least two videos for a join.
- Move the sources up or down until the queue follows the intended playback order.
- Use Edit / Trim on individual clips to remove a blank opening, a damaged ending or unwanted material.
- Choose a suitable output and review its quality, size, frame rate and audio. Use encoding for differing sources or edits. The copy path requires an MP4, MOV or MKV output and fully compatible selected streams; AVI input names alone do not decide eligibility.
- Start processing and inspect every boundary, the sound and the end of the final file.
Check older-media problems carefully
If the picture looks stretched, check the source proportions and your output canvas. If it looks combed during motion, the source may be interlaced; review the available picture settings rather than treating it only as a resolution problem. Preview a short representative section before a long export.
If audio vanishes or changes after one clip, inspect the tracks for every source. A file can play correctly by itself but still use a different language, track arrangement or audio setting from the next file. Check near each boundary and close to the end for sync drift.
Preserve the archive while making a usable copy
An encoded joined file is a new version, not a substitute for preserving important original recordings. Keep the source AVI files and save a project when you expect to change their order or edits later. Project files refer to media; they do not contain a complete backup of it.
Local joining is processed on your PC, and no mandatory product watermark is added. Verify playback in the intended receiving player before deleting intermediates or sharing the result.
Questions, answered
Can I join AVI sources without re-encoding?
Possibly, if their selected streams meet all compatibility checks for an MP4, MOV or MKV output, with no edits or source chapter timelines that require encoding. The input extension alone does not decide. AVI output is outside this restricted copy workflow.
Does the output have to be AVI?
No. Choose the output for its destination. MP4/H.264 is a practical option for many general playback situations.
